Build with AI.Know what to do next.
Build a real project, connect payments, publish updates, and automate the work around it.
I'll show you how with Codex or Claude Code.
The parts that make it real.
You don’t need a subscriptionfor every idea.
Your computer. One AI coding tool. Free hosting and database tiers to get started. I’ll show you what to use and when it’s worth paying.
- 01
Get your AI workspace ready
Install Codex or Claude Code. Set the agent's context, file access, and spend limits. You leave with a brief for the project.
- 02
Build a first version you can keep
Build the project in the browser, one feature at a time. Save it with Git and GitHub, try a change on a branch, and undo it when you need to. Close the session and open it later, or continue on another computer.
- 03
Connect your data and get paid
Connect the project to a database and follow a request from the form to the server. Add hosted checkout, run a purchase in test mode, and grant access only after the server confirms payment.
- 04
Publish, update, and recover
Check that API keys stay on the server and that private records stay private. Back up the database, deploy, and use a preview link before you publish. Keep the previous version so you can roll back. You pick a hosting address and know the free-tier limits before you go live.
- 05
Automate the work around your launch
Turn the project brief into a launch post, a carousel, and customer follow-ups. You review every draft before it sends. Schedule the workflow, add an approval step, and know what to do when a run fails.
- 06
See what's working and improve it
Add a dashboard for the project: signups and test payments. Connect analytics so you can see whether visits become signups. Use those numbers, and customer feedback, to choose the next feature or a pricing test.
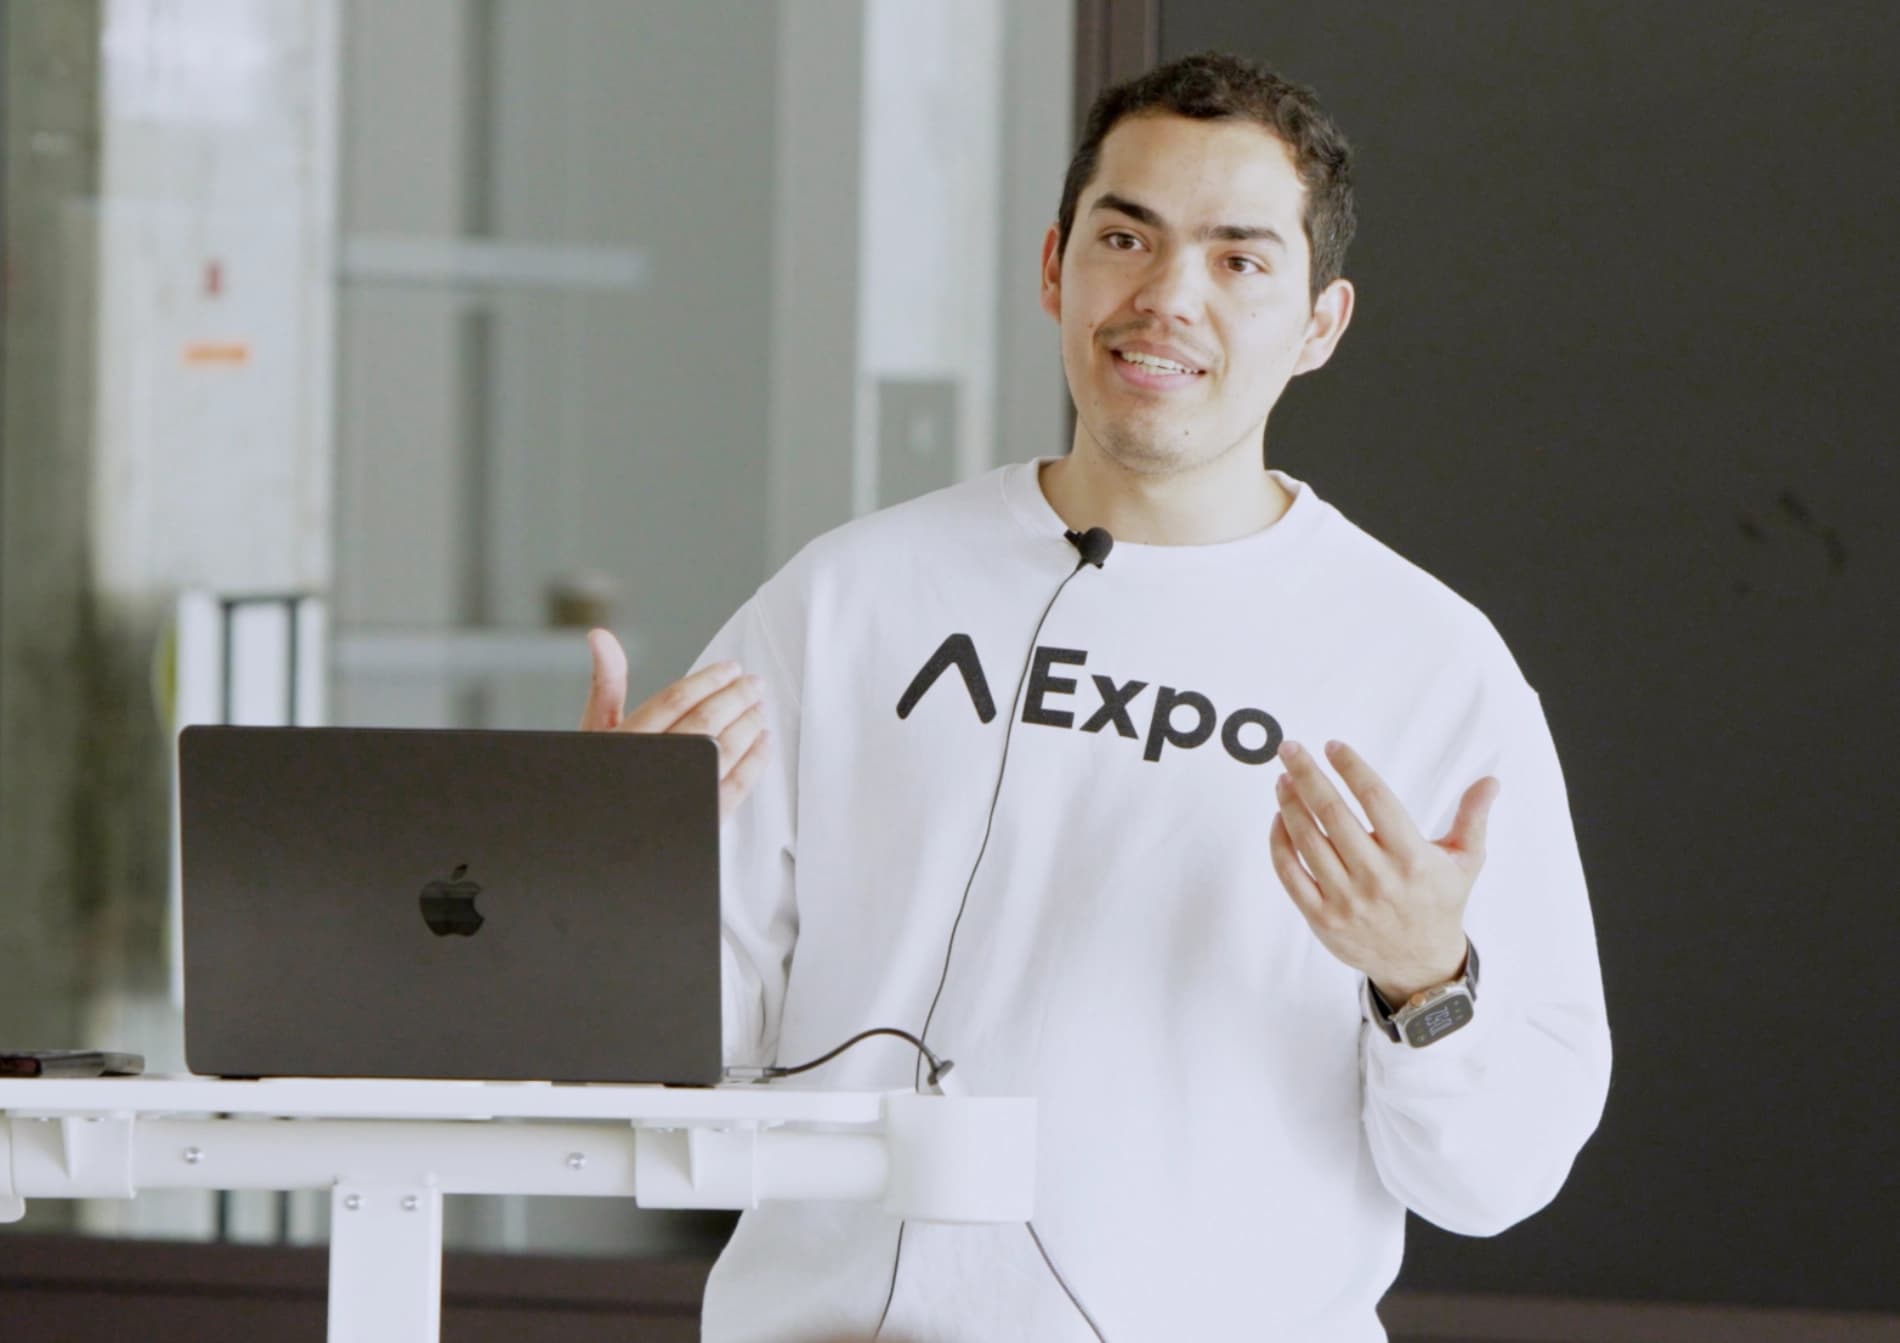
Hey, I’m Beto.
Former Expo & Walmart engineer.
I use AI to build my apps and run parts of Code with Beto. Here, I’ll walk you through the decisions I make along the way.
A few words from the community.
“The kind of course where you actually understand what you're building, not just copy-paste code.”
Full-Stack Developer · On the Expo course
“You empower indie devs like me to keep improving, keep shipping, and keep believing that great products can be built with small teams, or even solo.”
Software Engineer · On Code with Beto
Build your next ideawith me.
You’ll leave with the project saved, a checkout you’ve tested, and an update you can publish. Then you run the same steps on your own idea.
Build & Ship with AI
Early access$199 at launch
Included as we publish
- 18 practical, step-by-step lessons
- 3–5 hours of video to watch at your pace
- Project files to build along
- Reusable instructions and automation workflows
- From Idea to App Store book
Included with Basic and Pro Lifetime, including existing members. For a standalone purchase, sign in and pay securely with Stripe.
A few good questions.
Want to go deeper into React Native? Explore the React Native course.